Showing posts with label painting. Show all posts

Wednesday, July 6

Guest Bedroom Phase One

As you can tell by the title of a few of my posts, most of our projects are done in phases.  Why?  Because of time and budget constraints.  We do not do renovations on loan!  We make sure to save up for the cost of whatever project it is we are planning before we begin any phases of it.  This requires sometimes breaking a project into parts.  We have completed the first phase of our guest bedroom remodel, which was to:

1.) Remove old carpet (looks like it was original to the house)
2.) Spackle, prime, and paint walls
3.) Lay new wood flooring (laminate in this case - but I will explain why later on in another post)

Check all three things off of the to-do list of phase one!  They are complete! :)

So here's a before picture from the day we closed on the house:


And this is how the room was being used recently (not really as much of a guest room -- more like a pet room/storage room):
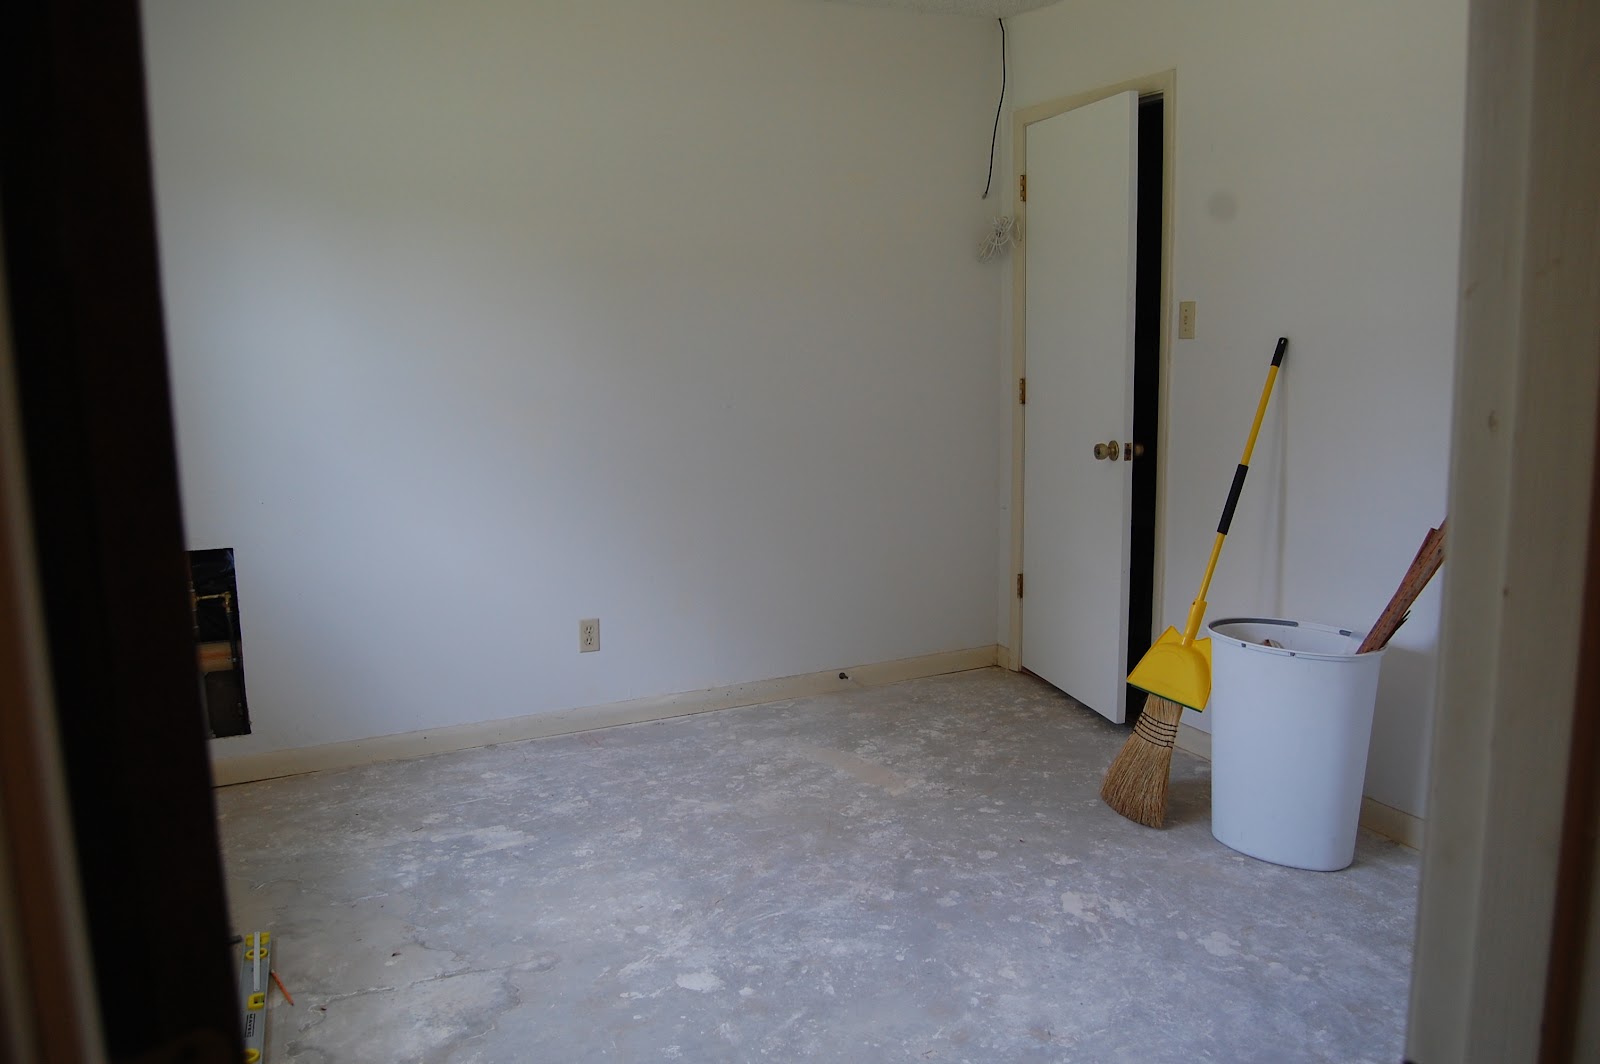
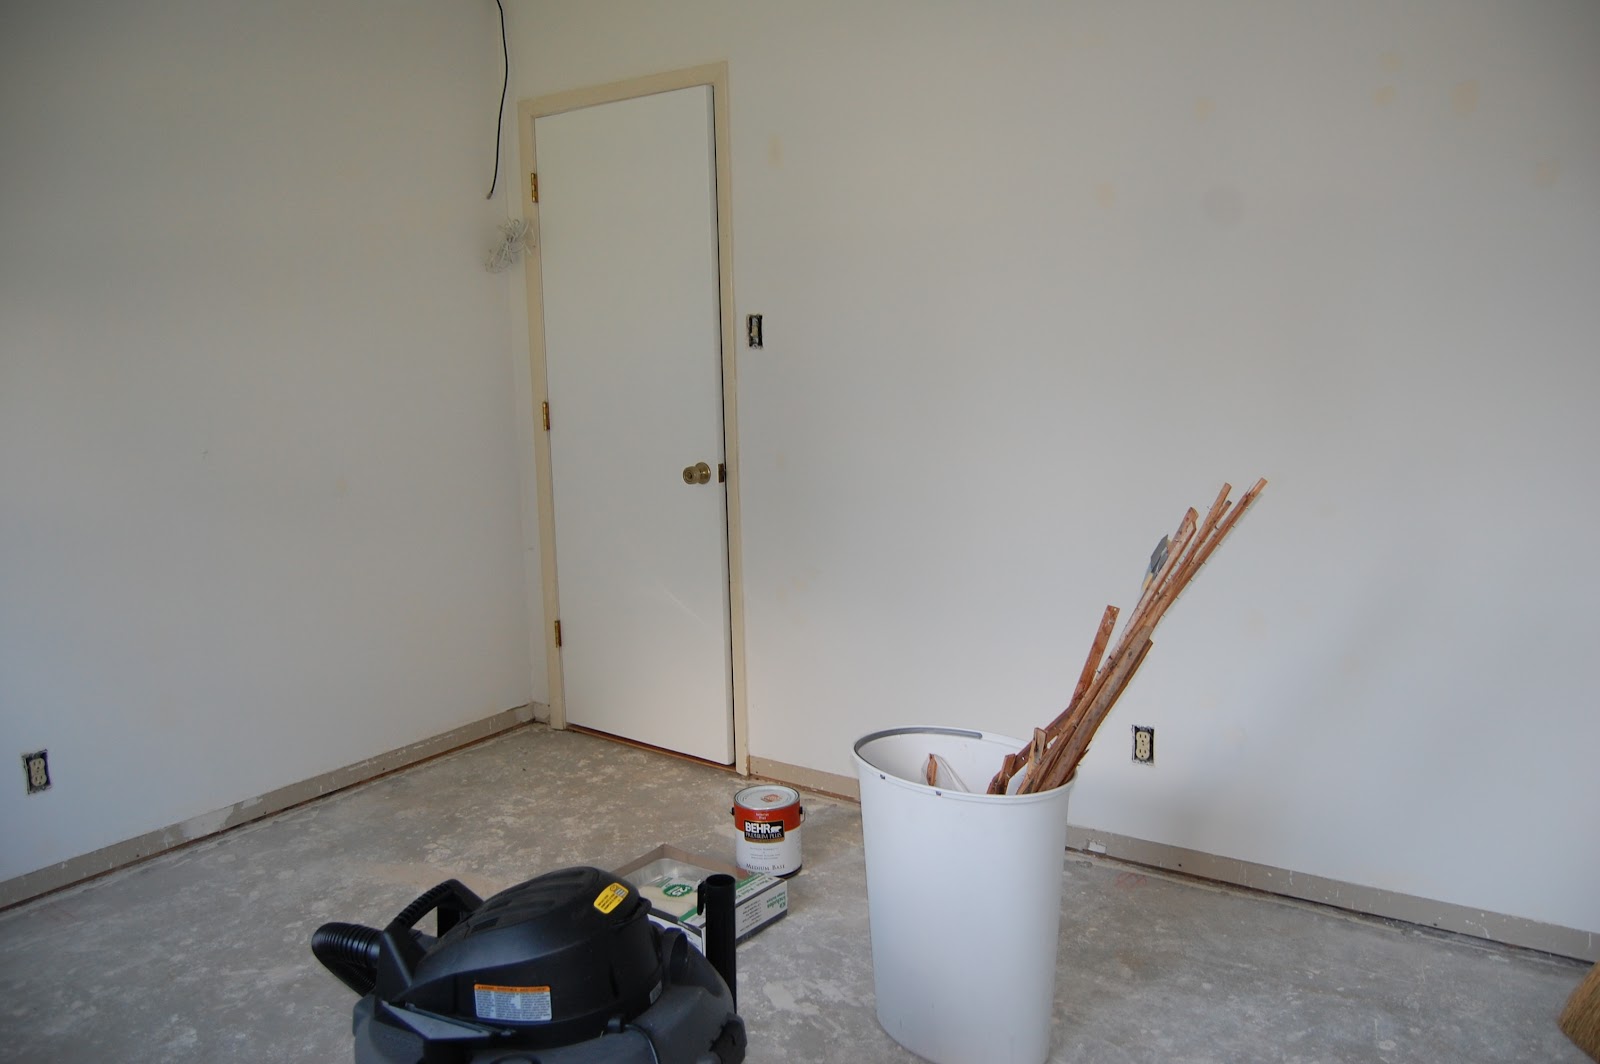
Day One:

The very first thing I did was to re-vacuum the carpets to get as much dirt/dust as I could up from the carpet itself.  Then we removed the carpets, which was easier than I thought it would be.  Starting at a corner, I simply pulled up on the carpet until it unfastened from the strips of wood underneath (Be careful - these strips have lots of tiny nails on them!).  I cut the carpet into smaller, more manageable pieces with a box cutter and removed the pieces from the room through the window after removing the screen, of course (I didn't want to track the dust through my house).  Underneath the carpet was a layer of foam which I also cut up into smaller pieces before tossing them through the window.  Unfortunately, underneath the layer of foam was a layer of dirt, (eww... I think I'll pick hardwood floor over carpeting any day now!) so I swept and vacuumed again to remove all the dust.  To remove the strips of wood the carpet was attached to, I used a hammer and a prybar to pull up all the nails holding each strip down.  I think this step took longer than removing the carpet and foam combined.  Then my hubby removed all the baseboards using the hammer and prybar also.  At that point, out came my trusty shop vac to get any remaining dirst dust/dirt left behind (Yes, even in the crevices between the wall and the concrete foundation usually hidden by the baseboards!)


Days Two & Three:

At this point, I didn't want to install the floors until I had painted the walls so as to avoid paint splatters on the brand-new floor (no plastic visquine required!).  The room had already been primed, so all I had to do was put up two coats of paint.  We decided to use the same paint color as we did in our guest bathroom which is right next door to this room.  The color is Restful by Behr.  Perfect name for a guest bedroom if I say so myself!  This process took two days because of drying time (we had lots of spackling to do as well as two coats of painting and cutting-in). 


While I painted the room, my hubby sanded down the baseboards, primed them, and repainted them Polar Bear by Behr (the color of our trim in every room of the house).  This reminds me that painting the trim of the doors needs to be added to Phase Two's To-Do List (should've done that before the floors were put down) . . .

Days Four & Five:
This is the tool my hubby used to cut the door trim so that the wood flooring would fit underneath.

We finally put in the flooring. Similar to carpet, laminate flooring requires a layer between the floor and the concrete foundation.  Some brands of wood flooring already have this attached to all strips of flooring, but ours did not, so we purchased two rolls (which was almost the perfect amount for the room and the closet - we had very little leftover).  The kind we purchased already had an adhesive (like double-sided tape) on it, so all you had to do to connect the pieces was to pull off the plastic layer on the outside to expose the adhesive.  It was very easy to cut with scissors or a box cutter, so either tool would work fine.  We made sure to read all instructions on this layer and the flooring before even beginning to make sure we were doing things correctly.  My husband put in the flooring itself (which were made to connect so there was no gluing required).  It was much less of a mess than the tiling project we tackled in the den (seen here) and took less time.  I would say the part that took the most time was measuring and cutting the pieces when needed.  If you need help installing wood flooring, there are some great videos from Lowe's and Home Depot (do a search on their sites or on YouTube to find them) as well as directions on the packaging itself (this may differ from brand to brand, but the kind we had had easy-to-understand directions with pictures).
 
There's the first few rows going in!

Here's a close-up of where the new floors meet the old floors (in the hallway) at the door.  The grains look similar, but the new floors are a little redder in color (but not by much - I don't think most people will notice it). 

To get the best match, we brought home samples of the flooring that we thought would match our current flooring the best (some samples are free, some stores charge a little under a dollar per sample but it's worth the money to check on color, grain, and size).

Then my hubby nailed in the previously sanded and painted baseboards and changed out the off-white outlets and light switches to white outlets, switches and covers for this wondefully updated look:


(This is a pic of the inside of the closet.)

And just because we love a good before-and-after comparison, here's the before again:


. . . and the after!


Our "To-Do" list for the room is still quite long, but at least now we can throw in a bed, desk, etc. and actually have people over if needed! Yay for progress! :)
Next to come for this room (this should happen within the next two weeks):

Phase Two
1.) Installing new blinds (already purchased)
2.) Painting trim around the doors (Polar Bear by Behr)
3.) Painting doors (Polar Bear again)
4.) Moving furniture back into the room (for now we will put in a queen bed from the college apartment days and some furniture from my youth, as well as possibly a desk . . . this hasn't been decided for sure just yet).  This furniture & bedding will be "for now" while we build back up the savings account and decide on the decor plan for the room.
5.) Buy & Install new light fixture (This step will possibly end up in phase three)

Phase Three
1.) Curtains
2.) Pictures/Artwork
3.) New furniture (or possibly update/paint the furniture we have already)
4.) New bedding
5.) Maybe a large rug?
6.) Decide on a closet layout & install
7.) Any other projects that I may not have thought about here

So what do you think?  Any suggestions for curtains/artwork/bedding?  I'll definitely be searching through TJ Maxx, Marshall's, Stein Mart, Target, etc. and maybe even a few online sites (and possibly taking another drive out to Ikea like we did here).  We're pretty happy that this room has been brought from the 80's into the present.  Keep checking in for updates . . . Phase Two is right around the corner!


I've linked this post up to beforeAndAfterButton

Sunday, April 10

Living Room Redo

     So you've seen the dining room, kitchen, and den, but there are a few other makeovers that I haven't shown you just yet.  The next room we made over after the kitchen was the living room.  I couldn't wait to put some paint up after seeing the gold-ish/orange-ish walls.  I'm sure there are lots of places where that color might work, but next to the dark brown beams, light brick of the fireplace, and the light fireplace mantle, not so much.   The room needed to be unified.  After much deliberation, we chose a Behr color called Harvest Brown (can you tell we are Home Depot people?).  I was a little nervous about this color after the snaffu in the den with a beige color.  However, this color is gorgeous.  It does come across as a beige/brown/tan neutral at some times during the day, but it also has a hint of green in some lights, which was perfect because we wanted to bring in some blue and green accent colors.  Here are some before pictures:


     This room was the hardest to paint by far (except for maybe the kitchen cabinets) because I couldn't just use my handy step ladder that I usually use; I actually had to bring in a real ladder to get the higher parts of the wall.  Along with painting the walls, we also removed, sanded, and painted the baseboards, painted the doors, and replaced all light switches, outlets, and all covers (we even added one to the cable line since there wasn't one). We painted this room around Christmas time, so we also picked up a few finds on Black Friday.  The curtains as well as the painting are from J.C. Penney, which had huge Black Friday discounts in that department.  A few months later, we found out that there was a Habitat for Humanity Restore location only about 30 minutes away from us! While that's a post on its own, we did find a chandelier (brand new!) for sale there that fit our room perfectly.  So my hubby replaced the old rickety fan that was there (and which, frankly, scared me to use because I thought it might fall of off the ceiling!) with the new chandelier in one afternoon.  Next on the list was to sand, stain, and seal the mantle.  Thankfully, the hubby took over that job too.  It took a while to do it correctly, but it was worth it because it looks amazing! 

     First, he sanded the entire mantle until all the finish was gone.  (We left it attached to the mantle because of the way it was put up there - not easily removed or replaced).


     Then, he stained it with an ebony stain (we wanted a super dark brown, almost black).


Finally, the longest part of the process was to seal the wood, which involves lots of wait time.

 (You can see in these photos that we covered the brick with plastic drop cloth just in case of spills)


(There's my handy step ladder that I usually use to paint all the walls and trim).


     Many, many months later, (okay, okay, a year later) we purchased two club chairs from World Market the day before Black Friday (my favorite shopping day of the year!).  It ended up being a better deal the day before because they were on sale plus they were offering a 25% off coupon for all furniture that day.  The pillows come from TJ Maxx and Hobby Lobby (you have to love the 50% off sales at Hobby Lobby!), which bring in the blue and green I discussed earlier in this post (which also shows up in the curtain).

     A few other additions in between the two Black Friday shopping days were a new-to-us fireplace screen and tool set which we grabbed at a garage sale for only $30 for everything.  There was a little bit of melted wax on the screen itself, which we just melted off before we cleaned the entire thing and brought it in to the house.  We like this screen much better than the gold one that was on the fireplace when we moved in. (It was donated to a family member for their fireplace).  Whew, I think I've covered everything we've done in this room up to this point.  In the end, this is where our living room stands now:


     Oh, and Parker's bed stays in the living room too.  It's where we usually find him when we get home. :)
So what good deals have you found lately?  Any garage sale finds? Craigslist? Black Friday? Habitat for Humanity Restore?  Where do you shop when you need to get a good price on something for your home?


Sunday, March 20

Kitchen Update

No new projects have been completed around our house lately (work has been keeping us pretty busy with little spare time for remodeling), so here's a look back at the changes we made in our kitchen (the second room to be painted) after we moved in.

Here's the before pictures of the kitchen (taken when we viewed the house with the realtor):

So we didn't mind the green in the kitchen, but the paint job was horrible (you'd have to see it up-close).  Since we decided that we would have to paint the walls, we decided to go ahead and change the color while we were at it.  We enlisted lots of help in this room because of all the sanding that needed to be done.

The list looked something like this:

-Remove cabinet doors & handles, sand, and paint
-Sand and paint cabinets
-Clean and paint inside cabinets
-Buy and install stove
-Fix broken floorboard
-Remove, sand, and paint molding
-Change sink and fixtures
-Replace cabinet tops
-Replace dishwasher with stainless steel dishwasher 
-Fix cabinet under the sink

And then, of course, move in all the dishes, glasses, and cookware.

We had increased motivation near the end of the project because we were hosting supper club at our new house that month and things had to be "company ready," which included bringing over all of our cooking supplies to the new house (we were still in the rent house for a week after buying the new house while we fixed a few things and got things, like the stove, delivered and installed).

Here's a few more before pics without the cabinet doors (they were being sanded and painted), where you can kinda see the work we needed to do under the sink and definitely see the work we needed to do in the cabinets.

First we did a really in-depth cleaning of EVERYTHING.  Lots of anti-bacterial cleaner was used! ha-ha  I found lots of things left behind by the previous owner, including expired box tops (Save them for your school!), "fountain of youth" water, a disgusting oil spill, matches, and a dead spider (Eww!!) amongst other things.  Needless to say, this took a while, but it was totally worth it to know that our kitchen was like-new when we were done.  To add to the "freshness" of it all, every cabinet interior was later painted white (much better than the original deep/dark brown fake-wood look). 


Sidenote: The biggest thing to remember when painting cabinets (especially when you plan to put heavy stacks of dishes on it after) is to sand, then prime, then paint, then let it dry completely.  If not, you will end up with paint sticking to your plates even though you thought it was dry (it was still a little tacky if this happens).  To further prevent this, besides letting it dry, we added in white shelf liners (the kind that keep things from sliding around but don't actually stick to the cabinet - found some at Walmart and The Dollar Tree). 

Once everything was cleaned-til-it-shined, we started making a mess in the kitchen (such is life) by sanding every cabinet front and side.  There were at least 3 layers of this off-white paint that would either flake or peel off depending on which layer and where the paint was.  We didn't want this to lead to the new layer of paint also peeling or flaking off, so sanding was a must.  After all the sanding, everything got another complete wipe-down.  Once it all was clean and dry, we primed everything and then painted the first coat.  We painted at least two coats on all surfaces after the primer was up (including the cabinet doors themselves).  Lots and lots of waiting around for things to dry.  Thankfully, we didn't have furniture in our living room yet, so the living room floor was covered in clear plastic which was where we did all of our cabinet-door painting.

After the cabinets were all painted, we taped off all of the molding (except for the baseboards - those were removed completely) and repainted them white (to match the white on the cabinets).  Again, more before pictures:
(Don't mind all the cleaning supplies on the cabinets - this was a work in progress shot)

(Another shot of the stove-and-refrigerator side)
(A sneak peak into the living room - that's another post for another day)

Let's discuss our choice of paint color in the kitchen.  I love blue.  Enough said.  My husband was nice enough to let me paint the kitchen in the rent house (which we lived in before we purchased this home) a very bright blue with white cabinets, but this time we became a little bolder.  We painted the kitchen a deep dark blue.  During the debate over whether this was the correct color choice, many family and friend opinions included the fact that it would make the kitchen too dark and dreary.  However, the hubby and I thought the darkness would be balanced by the fact that there was so much white in all the cabinetry and the fact that there is a huge window that lets in lots of sunlight for most of the day.  So we ultimately crossed our fingers and tried it (something we are doing a lot of in this house) and guess what? It worked out just fine.  We love the look of it and the cabinets/window totally balance out the darkness.  Besides, there is a very small amount of surface area that is blue compared to the white of the cabinets and ceiling and the light wood of the floor.  We love it.

Once all the cabinets were put back in place, we purchased a stainless steel stove (and I had to get used to an electric stove - I miss my gas stove!) and put our oldie-but-goodie fridge in place (it's on the list to be replaced with a stainless steel one some day).  We also brought our island-on-wheels from our rent house (it was a Christmas purchase the first year we were married) which was perfect because it was white and had the same countertop as the kitchen.  Other small projects including switching out the white water sprayer to a stainless steel one and removing the can opener screwed to the bottom of the cabinet (you can see it in some of the first pictures).  Since then we have also hung up a few pictures (Hobby Lobby 1/2 price sale - Yay!) and added the Ikea containers discussed here.  We're liking the results.  So here's the picture summary:

Before:
After:

Before:
After:

Before:
After: 

 Oh, and we still have a projects left in the kitchen -- stainless steel dishwasher, stainless steel fridge, possibly new flooring and cabinet tops, and definitely a new light fixture:
Ugh, popcorn ceilings. (Anyone ever got rid of the popcorn themselves? Advice please!)

We're still loving the kitchen upgrades as well as the blue walls.  :)

Sunday, February 13

Den Room Drama

When we first moved into our house, this is what our den looked like:
Lots and lots of brown!
So our first attempt at updating the room was to paint the walls a beige color and one accent wall a burgundy color. Like this: 

(These pics were taken right before we tiled the room)
  It was okay at best with the old floors, but then we updated the floors and the color combo confirmed its place on our redo list.:


 We moved on to other projects while we considered our choices.  After about 4 grey paint samples and at least 5 different blue ones, we finally committed to two finalists, and we haven't looked back since.  The blue/teal is called Hallowed Hush and the grey is called Dark Granite.  Both colors are Behr Premium Plus flat enamel.  Here's the new colors with the new tile floor (these pics actually have the trim painted Behr Polar Bear and put back into place, a new TV - Merry Christmas to us!- and a black curtain which I made):


Ahhh, much better.  Now onto curtains, lighting, and furniture for the room...